| WORKSHOP : PRIMARY SCHOOL 1 | WORKSHOP : PRIMARY SCHOOL 2 | WORKSHOP : SECONDARY SCHOOL | WORKSHOP : ADULT | WORKSHOP : SPECIAL NEEDS |
| HOW TO STRECH PAPER FOR WATER COLOUR PAINTING | |
|
|
HOW TO STRETCH PAPER
You will need: |
Method: |
 |
1. Lean your drawing board as vertically as possible against a wall. |
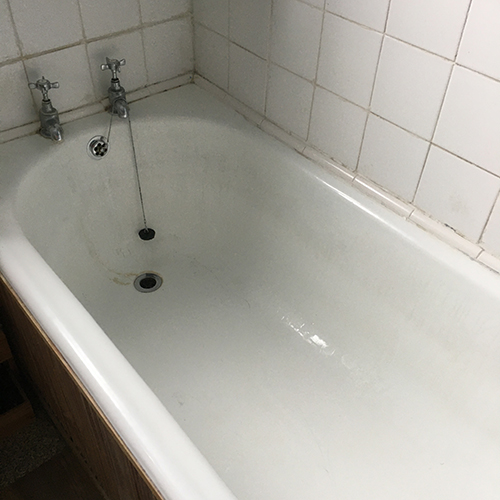 |
2. In a very clean bath, put the plug in and run the cold water tap to fill it about half way full of water. |
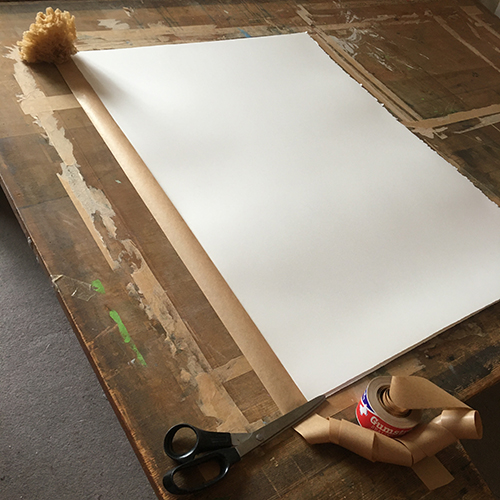 |
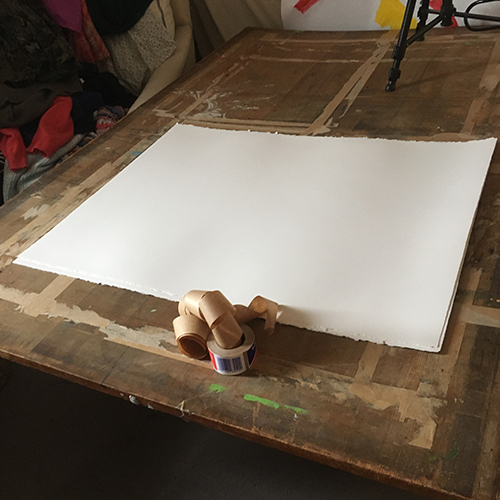
3. Choose your paper and measure and cut the brown water tape into strips with scissors to fit each edge of the paper sheet(s), with about 4 cm extra at each end. Lay to one side of your wooden drawing board and take care not to let the tapes pick up dust or hairs. |
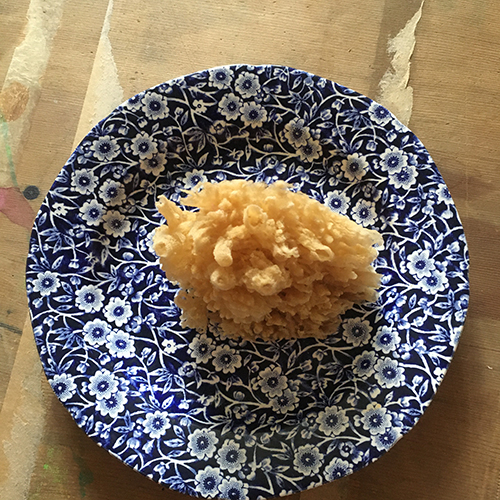 |
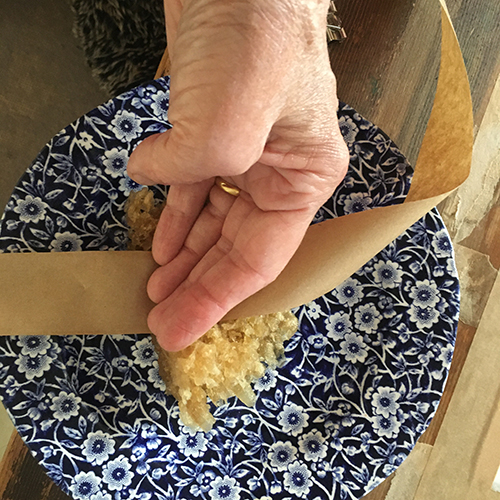
4. Into your dish put some cold water, and place your sponge into this. Make sure you have enough water in the dish to soak your sponge in when it is pushed down into the dish. Put your dish somewhere near the area your paper will be stretched on. |
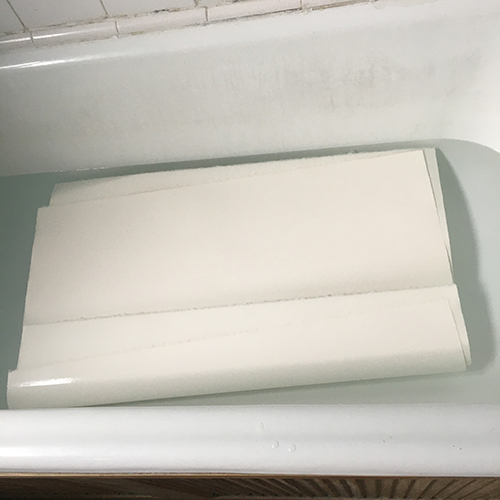 |
5. Take a piece of water colour paper and gently lay it into the bath of cold water. Take care not to buckle or kink the paper, as this bruises the surface. Depending on how much the paper is sized (?) leave it for about a minute in the water, making sure that all of it is submerged. You are soaking the paper to let water penetrate but not weaken its structure. |
| 6. Holding one corner of the sheet of paper firmly, lift the sheet out of the bath of water, and let the water drip off back into the bath. When all the drips have stopped, carry your paper to your wooden board, which should be leaning against a wall. | |
| 7. Now hold the other corner with the other hand and keeping the paper level, hold this edge against the wooden board. As you do so, let the paper fall incrementally against the dry board, but avoid trapping air bubbles under it as you do so. | |
 |
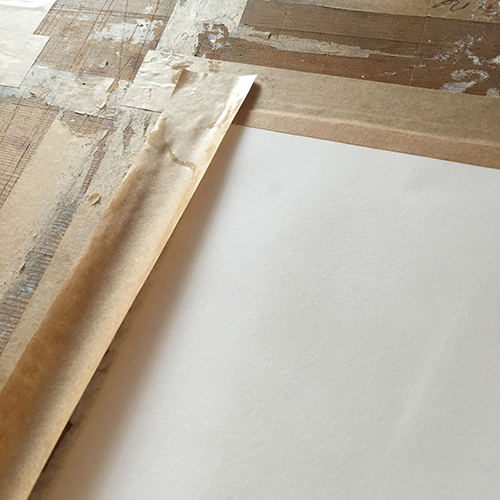
8. Lay the board and paper down horizontally, and locate the correctly measured tape. Take a piece of tape and wipe it glue side down over the wet sponge on the dish, making sure the glue is wetted thoroughly, (though not enough as to render it unusable). |
 |
9. Repeat this action for each edge of the paper. |
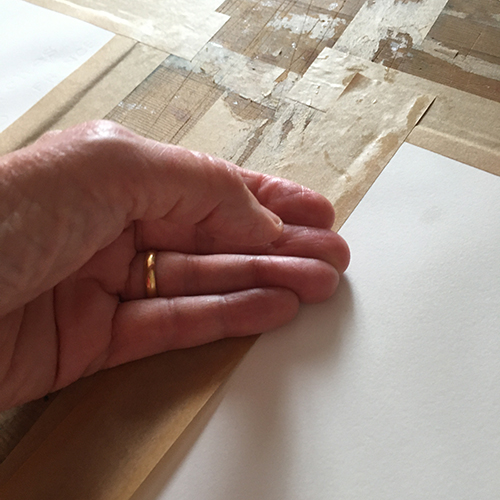 |
10. Check that the paper tape is making good contact with the paper’s edge and the wooden board in roughly equal measure. Use your finger to smooth any creases out of the tape. |
 |
11. Leave the paper to dry horizontally, for as long as it takes, depending on conditions. |
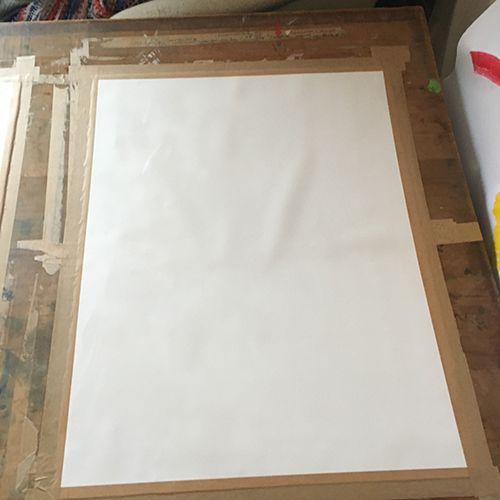
| 12. Your paper is now ready to paint on. | |
PROBLEM SOLVING Sometimes the paper tape doesn’t hold for some reason. If this happens, and your paper is not stretched from all four edges you have to start again. You can use the paper again, but you’ll need to cut fresh tape. It can happen because you have removed too much glue from the tape while wetting, or a puddle has formed during the drying and the glue has lost adhesion. |
|
 |
13. Once you have made your painting, and it has dried, you will need to remove it from the board. This can be done either by cutting the paper off carefully with a sharp knife and a ruler, or by carefully wetting the inside edge of the tape and peeling it off the painting's edge. Either way requires time and patience. |
| WORKSHOP : PRIMARY SCHOOL 1 | WORKSHOP : PRIMARY SCHOOL 2 | WORKSHOP : SECONDARY SCHOOL | WORKSHOP : ADULT | WORKSHOP : SPECIAL NEEDS |